Friday, October 28, 2011

Baby Room

Now that we know we are having a boy, I'm so excited to start decorating the nursery!  I've wanted to do a nautical theme for that room ever since we found out I was pregnant, and had even planned to go ahead with it if we were having a girl.  (We have plenty of pink, purple, and princess stuff - I needed a change!)  But it is so much more exciting to be planning for a boy, and not have to worry about making it "feminine nautical".

So I've been googling images for inspiration.  Here's what I've found so far...  I've linked each photo back to the blog/site where I've found it, so click to view the original posts.


nursery1


Thursday, October 27, 2011

It's a....

We had a pretty exciting weekend!  Not only was Ruffles and Rust an amazing show, but we received some very fun news on Sunday.

You see...  after church, Dave and I went to a little doctor's appointment for the 20 week ultrasound.

While we were there, we saw our little one's hands, and fingers, and legs and toes.  We saw the heartbeat, brain, head, face, chest, and lots of great movement.  We even got to see baby wave and suck on its tiny fingers!

There was one more thing we saw - the gender!

To make things more exciting when revealing the news to friends and family, my mom baked us a "gender surprise" cake - complete with special colored icing in the middle.  As we cut the cake, the sex of our baby was revealed!  This was so much fun, that I just had to repeat it this morning with my Bible Study group.

My mom was gracious enough to bake cupcakes this time, with colorful filling as the surprise.

And now that all of our local loved ones have heard the news, it's time to share with you!


It's a BOY!!!!

We are so thrilled to announce that a little boy will be joining our family in March.  Now I don't have to return those darling Gymboree outfits I splurged on, and I can start knitting little boy things in earnest.  

We couldn't be more excited!  We hope you enjoyed the surprise.

Wednesday, October 26, 2011

Fabric Banners

For the past few months I've been busy making banners to sell.  They are so much fun to make, and look super cute hanging in kids rooms, in kitchens, over a fireplace, or really anywhere!

I just posted these to my Etsy shop...


And these are a few I've made as custom orders.  I love to match the fabric to people's specific decor - like for nurseries.  I've done a few for teacher's classrooms too.  I posted those a few weeks back in September.  :)


This one is hard to see.  It says "Dog Room" and was for a sweet woman who was giving it to her sister.  Her sister runs a doggy daycare.  My favorite part was the little dog icon in the center.  He turned out so cute!


If you are interested in ordering a custom banner - just send me an email and we can chat.
nonapearl@firebin.net

Tuesday, October 25, 2011

Ruffles and Rust Weekend

On Friday and Saturday, my friend Wendi and I set up a spectacular booth at "Ruffles and Rust - a vintage show to inspire".  We had such a great time meeting people and selling our crafts.

While we don't sell antiques - we do decorate our space in antiques, and so we fit in to the show pretty well.  I've been scrounging blogs for photos to share.  I forgot to bring my camera, and neither Wendi nor I had the presence of mind to take photos of our booth.  Sigh...

But here are some photos of other people's booths.  :)  I came home with a few treasures, but for the most part used self control.  It was an incredible experience, and I did come home with TONS of great ideas for decorating my home.  I can't wait to get started!  This week is all about "purging" so that I can have space to make things look fresh and new.  And I can't WAIT to get started on our nursery!

These are the few pictures that Wendi got on her phone:

John Bob's space is always a favorite:

Here are photos that Sweet Savannah got: 


And these ones I found on Auntie's Finding Joy blog

[IMG_1202%255B4%255D.jpg]


Monday, October 24, 2011

Baby Sweater

I had my big Ruffles and Rust show this weekend (more about that later), but on Thursday night I decided that I'd had enough of knitting for shows and I NEEDED, yes needed, to knit something for our little baby.

I decided on this pattern because I already had yarn available.  It is called Baby Sophisticate by Linden Down, and for Ravelry members it can be found here.


Here are a few "in progress" pictures.  


As of last night, I've finished the back and am ready to pick up the sleeves.  Unfortunately I can't find my size 8 DPN for the sleeves, but trust me...  I will!  And then I will post pictures of this cute little sweater all done in green, perfect for our little boy or girl. :)

Tuesday, October 18, 2011

Applesauce

I'll be posting more pictures soon, but had to share these first, and the fantastic recipe!

Over the weekend we visited some dear friends in Olympia, and we came home with a huge box of apples and pears from their trees.  I've been craving applesauce lately, so Samantha and I decided to whip up some homemade applesauce with our fruit.

I got the recipe from Epicurious here.  We made a double batch, and we mixed up the fruit a little bit for added flavor.  We used 11 apples and 3 pears from the Babcock's trees, and 2 honey crisp apples.

We peeled and cut them, then added them and 2 Tbsps lemon juice, 1 cup of sugar (could probably cut back to 1/2 cup-3/4 cup), 2 cups of cider, and 2 cinnamon sticks to a large pot.


I let Sam taste the cider out of the measuring cup.  My mom used to let me do that when we baked together.  There's just something about drinking yummy stuff out of measuring cups that makes it feel really special.

The we brought the fruit mixture to a boil, and let it simmer on medium heat for 15 minutes.  We took it off the heat to cool, removed the cinnamon sticks, then mashed it up.  We left quite a few big fruit chunks, rather than having it be completely smooth.  Then we dug in.  It was SO, so, so good.


It was so good, I actually made myself a little sick on it last night.  And I just devoured another small bowl of it before writing this post.  I might need to have have a tiny smidge more.  :)

Monday, October 17, 2011

Green and Orange Stockings

Over the weekend I finished another 8 stockings, this time in greens and yellow/oranges.  Only 6 are pictured because I grabbed one of each color and added it to our "family stocking stash".  So these 6 will be for sale at my upcoming show.


Today I'm working on new Christmas themed fabric banners, and blue stockings.  I also have some knitting to get done.

Hope you day is going well!  We had an awesome weekend, full of pumpkin patches, visiting friends, and great food.  I'll try to post some of those pictures soon.

Thursday, October 13, 2011

Winner!

Congratulations to BEV (commentor #3) who is my 200,000 hits contest winner (according to the random number generator).

Bev wins her choice of 30 assorted greeting cards or 30 festive Christmas/Winter cards made by me!  Bev, please email me at nonapearl@firebin.net with your choice and your mailing address.

Thank you all so much for your lovely comments, and your sweet and kind words.  They touched me dearly!

I look forward to posting lots of great stuff in the coming days, weeks, months, and hopefully years!  Thank you for being faithful readers, even when I am not the most faithful blogger.

You are all a blessing to me!
-Nona

Wednesday, October 12, 2011

The Bump

I've had a few requests for baby bump pictures, so now that I've popped a little, I thought I'd oblige...


With as *starving* and *tired* as I've been the past few days, I'm sure the bump is getting bigger by the minute.
That said, I'm off to bed!  G'night!

ps... only 34 more hits until the big 200K and 30 card winner is chosen.  Be sure to leave a comment on that post (scroll down a few days) if you haven't already.  

Tuesday, October 11, 2011

Stockings - Simple Photo Tutorial

As promised, I have a mini "how to" with photos for the stockings I made over the weekend.  I had a LOT of help from this 3 part series of videos on YouTube, so if my directions aren't clear enough be sure to check them out.

First, I took an old stocking from our Christmas stash that had a nice size and shape.  I traced it on butcher paper - leaving 1/4" for seam allowance.  Then I cut it out.


I had purchased a collection of fat eighths from the fabric store, because I wanted the quilted look.  These were great because they had 8 different fabrics, in a nice gradation of colors from dark to light.  I used 4 fabrics per stocking.  I cut the 9"x21" pieces down to 4.5"x21".  If you were making a stocking from 1 fabric for the outside, and 1 fabric for the lining, then you would only need about 1/2 yard of each (depending on the finished stocking size).

The next step was piecing the fabrics together (I did 2 sets - one for the front and back), then I pressed the seams.  I placed the 2 panels of fabrics right sides in, and used my pattern to cut out stocking shapes.  I was able to get 2 stockings from each set of panels.  I also cut out interfacing and a lining using the pattern.  The lining I cut 4.5" longer in the top part of the stocking to create a nice cuff.   Before sewing the stocking outsides together, I ironed on the interfacing.

This photo was taken after I sewed the stocking together, clipped the rounded edges, and turned it.  I pressed it lightly and then sewed on the tab made from excess fabric.

I sewed the lining - leaving a 4" gap on the back of the leg.  Leaving it right sides in, I put the stocking (already turned) inside.  Then sewed the lining to the stocking outside by lining up the raw edges at the top.  Then I pulled the stocking out of the gap, turned the lining right sides out, and sewed up the gap.  (don't forget to clip those rounded edges!)  When I put the lining back into stocking, the excess 4.5" creates a nice cuff.  Finally, I stitched around the top of the cuff to create a nice finished edge.  And that was all there was to it!

Here are the other 4 colors that I purchased to make more stockings.  Today I cut out the yellow and green fabrics.  Can't wait to see how they all look sewn up!

Monday, October 10, 2011

Sewing Stockings

Last December I started knitting stockings for our family.  I finished two of them, then put them aside, because it wasn't Christmas anymore.  I figured that I'd finish the other 2 this year.  February and March and April came and went, and I did nothing with the stockings.  Then May hit and I had to start getting my inventory up for markets.  Then June - September came, and went.  Still nothing happened with the stockings.

Now we are in October - and I'm in my busiest knitting part of the year (for Christmas shows).  I did pull out the stockings, and sadly, decided that they were ugly, I didn't want to knit (now) 3 more of them, and the yarn would be better used for owl hats!

Yikes!

So I went on an etsy prowl for stockings, thinking I could purchase them.  I did find some very beautiful ones.  But at $50 a pop, that comes to $250 for stockings for our family!

Double Yikes!

As this is transpiring, the nutty, creative part of my brain piped up and said - "Nona - you are sewing now.  The stockings you love don't look "that" hard.  Why don't YOU make them?!?!"  :)  And for once, this part of my brain wasn't over stepping, or getting bigger than my ability (although this does often happen).

I popped over to YouTube for some instructional inspiration.  Then off to the fabric store I went to gather supplies.  I came home with some "trial" fabric, and within 2 hours, had whipped out my first stocking!  It was so cute!  And best off all, with the supplies I purchased, I was able to make 4 stockings, not just one with that fabric.

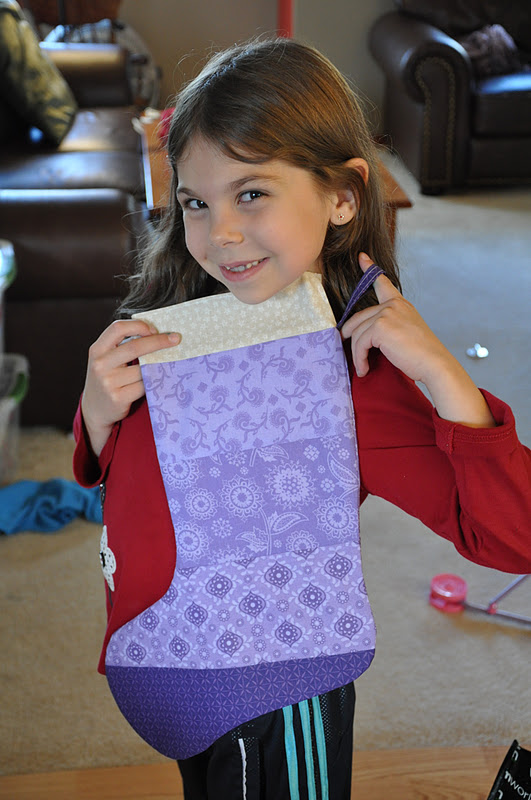
So back to the fabric store I went to get supplies in a few more colors.  And as of this morning, I have finished 8 stockings!  Whoohooo!!!   I'm going to keep working on them this week in the other colors.  I decided that we'll keep one of each color for our family, and then sell the extras.  Hopefully I'll have a nice assortment finished by the 22nd for my next big show.  And hopefully people will want to buy them!

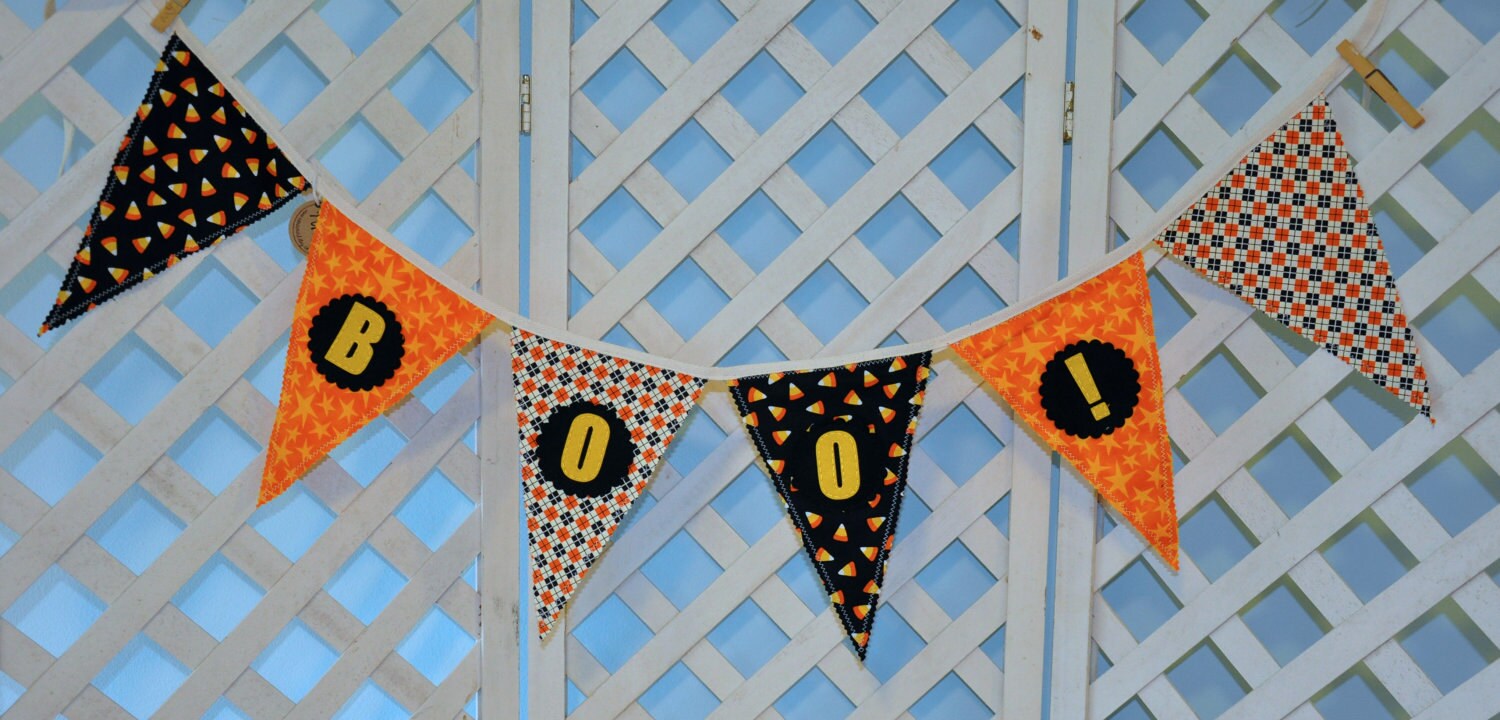
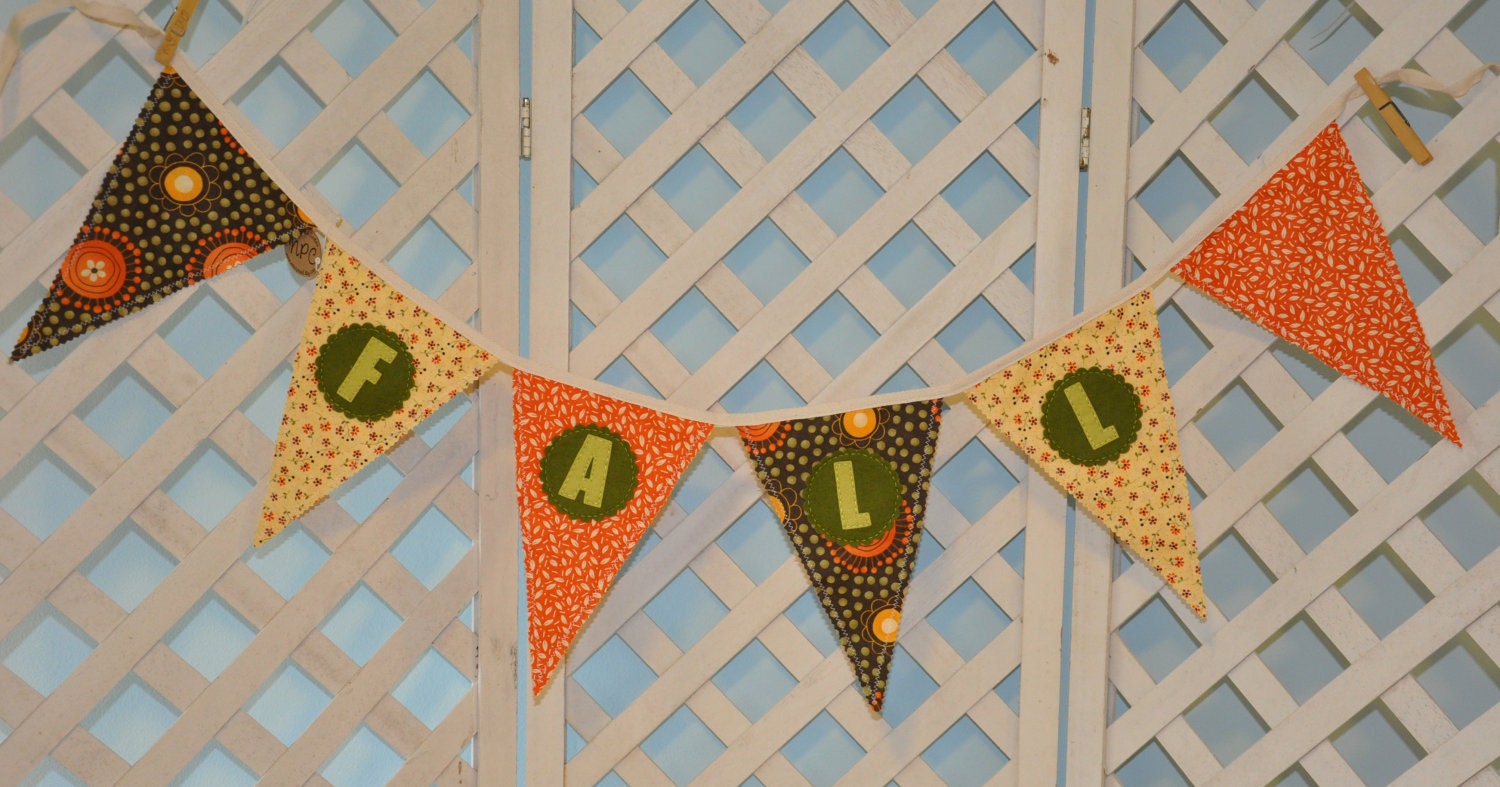
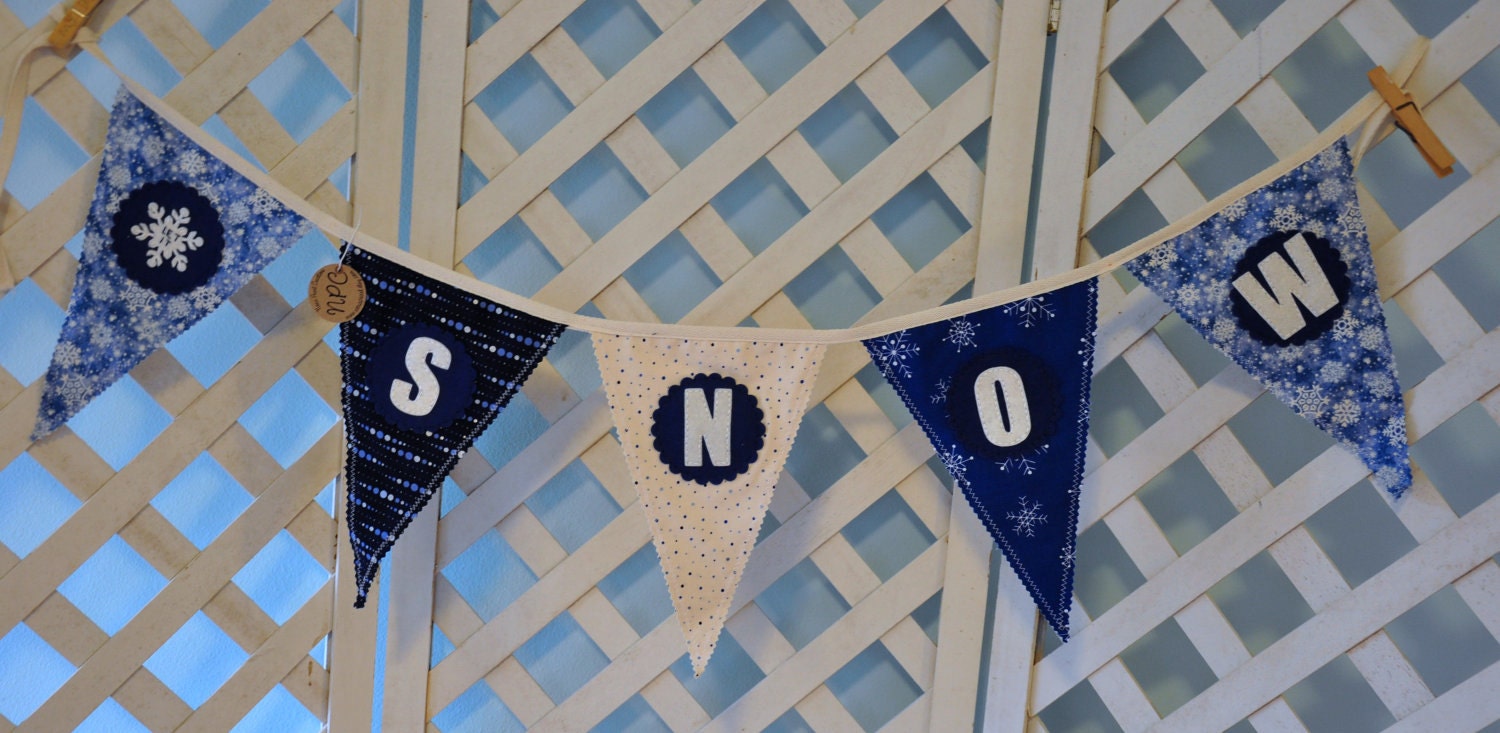
Here are photos of the finished ones.  :)  Tomorrow, I'll post the process.  It's not quite step-by-step, but enough to get the idea of how I made them.


You might be wondering about names/personalization.  At this point I don't have a way to machine embroider them.  Our family isn't going to put names on ours.  That way, every year the kids can pick a different color and no one has to complain that "they always get stuck with the ugly yellow one".  It would be totally possible to hand embroider a name on, but I want to keep the price low, and can't do that if I have to personalize them.

PS... Don't forget to leave a message on THIS POST to enter to win 30 cards!  I'm less than 300 hits away from 200,000 hits, and that is when I'll pick a winner!  I'm guessing this will happen tomorrow - Wednesday at the very latest.

Thursday, October 6, 2011

Baby Shopping!

I need to make a confession.  I just bought some clothes for the baby.

The thing is, we don't know the sex yet, and won't for at least 2-3 weeks.

And I only bought boy clothes.

'Cuz we really want a boy this time.  All of us.  Even Samantha wants a little brother.

And my gymbucks were about to expire - and my girls REALLY don't need any more clothes - maybe ever.  We are literally drowning in girl clothes.

But now I'm feeling a little guilty. What if I just jinxed my chance at getting a boy since I bought the clothes!?!

Now, don't start with me.  I know that the baby is what he or she is.  And I can't change that by purchasing clothes.  And we will love him/her regardless.  But I can't help feeling a little silly about it.

I guess I should just show you what I bought.  After all - a little girl could wear it too.  We just might have to endure a ton of "what a cute boy you have" comments when we go out in public.  Well... the "my name is handsome" one might not work so well on a girl.  But about 12 of my friends are pregnant right now.  So I guess I could give them the clothes if we don't get a boy.  I guess.  If that was my only other option.

Anyway... here's what I got!  The skunk hoodie kills me!


Trouble Skunk Fleece Hoodie 
Handsome Stripe Two-Piece Set
Skunk Double Sleeve One-Piece

Tuesday, October 4, 2011

October Template of the Month - Mischief

Are you feeling a little mischievous?  How about a little spooky?  It won't be long until all the neighborhood rug-rats (mine included) will descend upon us in search of treats!

Do you know what you're doing with your Halloween photos this year?  How about making a delightfully creepy mini album for them?  Better yet - how about making TWO - one to keep, and one to give to grandma!

My latest template is here and it features the Mischief papers, Midnight felt shapes, and Newsprint Rub-ons from Close To My Heart.  Best of all, you can make 2 mini albums with just 1 pack of Mischief papers!

The Mini Albums have 10 pages, and 3 pull out tags for additional photos.  The template includes 7 full color pages of cutting diagrams, photos of each page, and detailed assembly instructions.


Here are some detailed shots of the inside of the album:

Purchase this fantastic template for only $5!
Add to Cart

Please note: templates and licenses are sold separately!

Are you a paper-crafting teacher?  Limited Teacher's Licenses can be purchased for only $10 more.  Click on the "Mischief" template below (or other desired license) and then click "add to cart".
Kit Template:


To read about Teacher's Licenses and what they allow, please click on the "Nona's Papercrafting Template" tab above.  All of the details are outlined there.  You can also see all of my other available templates there.
View Cart

LinkWithin

Blog Widget by LinkWithin