
Here it is! I'm going to call it the "Fame and 'Fortune' Wreath" because the flowers are actually little origami fortune tellers (yes - just like the ones we made as kids), and you'll instantly be the most famous crafter on the block when your friends hear that you made it! Just kidding... I'm actually thinking of naming it the Hydrangea wreath, because to me, all the little flowers look like hydrangea blossoms. But you can think of it either way.

With a little patience (and a nifty glue gun) you too can make this wreath! Let me show you how...
First, you'll need a foam wreath (I've used the 12" size), a glue gun and lots of glue sticks, a paper cutter, and some glue dots or double sided adhesive, a few stright pins, and about a yard of ribbon.
Next you'll need a book. It doesn't have to be old, antique, vintage, or cost a bazillion dollars. Older books with slightly yellowing pages look cool - but you could pick up a 1980's romance novel from the thrift store for 25 cents and that would work just fine. If you go that route, just be careful that suggestive words/phrases are hidden if the wreath is going to be a gift to a teacher, pastor's wife, or mother-in-law. Hehe.
Tear out about 65 pages out of your book. I was able to cut 2 squares from each page. Cut 130 squares - each measuring 4"x4". If you are using a smaller wreath, I estimate about 10 squares for every 1" of the wreath, plus about 10 extra to use as filler.
Now, you're going to make 130 (or so) origami fortune tellers. If you have a daughter between 7 and 13 this might be a fun project to do together. I say "might" because for some families this kind of thing would result in a screaming, crying, rip your hair out, kind of experience. But for many others, this would be a fun bonding experience! So, use your best judgement on who you include in your crafting time. Just remember, it's supposed to be fun! (If you decide to go it alone, I suggest some peppy music or a movie as a background noise for your folding. It's gonna take a while!)
For those that don't remember or never learned, here's how to fold a fortune teller:
(and if you have no idea what a fortune teller is, click here)
Start with 1 square of paper. I used a 4"x4" square.

Fold it in half horizontally, then unfold, and fold in half vertically.

Now, fold the corners in to meet in the middle.

Turn the square over (so the folds are on the back), and repeat what you just did.
Fold the corners in to meet in the middle.

Now, turn the square over, and poke your fingers into the 4 small pockets as shown.

With your thumbs and pointer fingers in these pockets, you can push them together to meet in the center.

This is what it looks like from the top.

Except, for this wreath, that is actually the bottom. If you flip this over, you can see the flower shape.

Once you get the hang of making them, you will want to used glue dots or a tape runner to glue the fortune teller together on the back. This makes gluing it to the wreath much easier. Before I puffed the pockets out, I added glue to the back edges so that when the sides were squeezed together they stuck in the middle. Hopefully that makes sense. Just glue them so they stay in the flower shape, and don't go back to being flat.
Now that you've made about a billion little flowers (it will surely feel that way at least), you can start gluing your wreath together. Test a small area of your wreath with the glue gun first, to make sure that the heat doesn't melt the foam. I selected a really thick foam wreath, so it wasn't a problem for me. They also sell glue guns that don't need such high heat settings to work.
Start by attaching your ribbon to the wreath. I used tacky glue on the ends, and straight pins to hold it securely as it dried. (I left the pins in place for long term strength). Plug in your glue gun to preheat while you are doing this.
NOTE: If you want the back side of the wreath to be pretty, wrap it in fabric, book pages, paper, or ribbon before gluing the flowers on. You'll only be adding flowers to the front and sides, so the back can lie flat against the wall when it is hung.

Next, I added glue to each flower and started sticking them onto the wreath. I began by covering the ribbon, and then worked my way around the top, front, and middle. I kept the wreath flat on the table (on top of scrap paper) while I worked. The flowers overlap each other slightly. It's almost like a puzzle to get them smooshed together just right. But once you glue 4-5 you get the hang of it, and it becomes really fun!


All done:

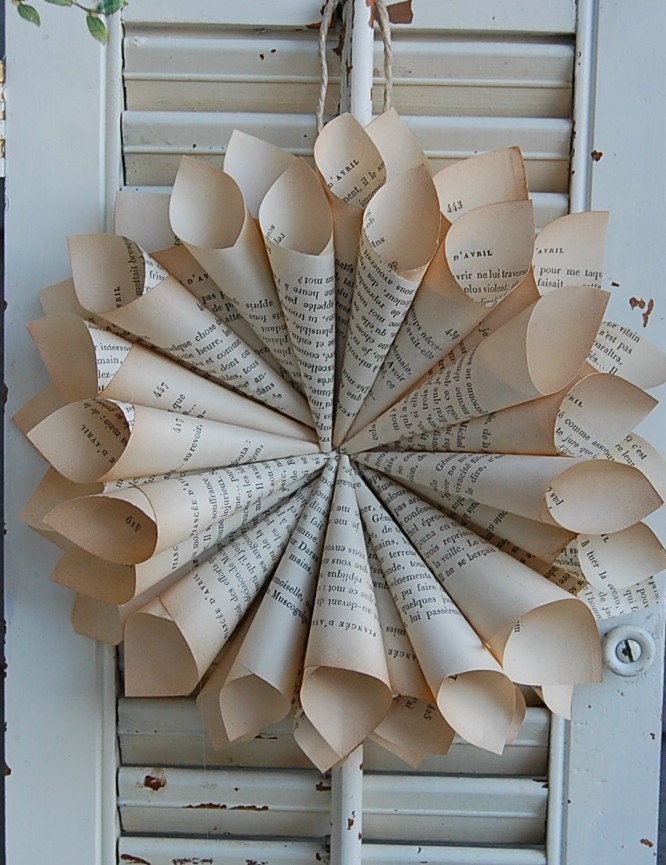
Voila! I just love how this one turned out. And if you'd like some inspiration, here are a few other people's book wreaths.
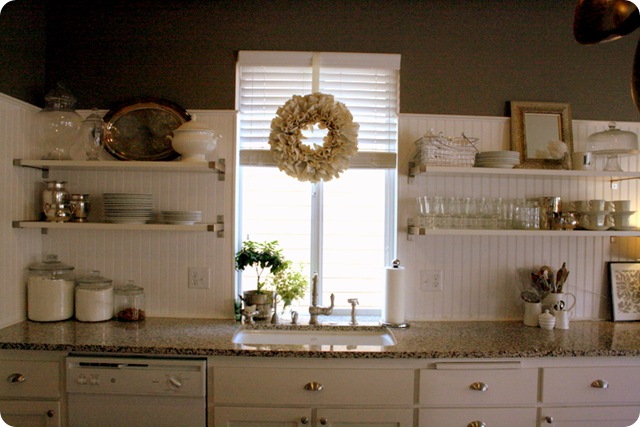
I was originally inspired by this post from the Jones Design Company blog. You've got to check out her stuff. AMAZING!!! Here's a photo of her wreath hanging in her beautiful kitchen: (She provides a tutorial)
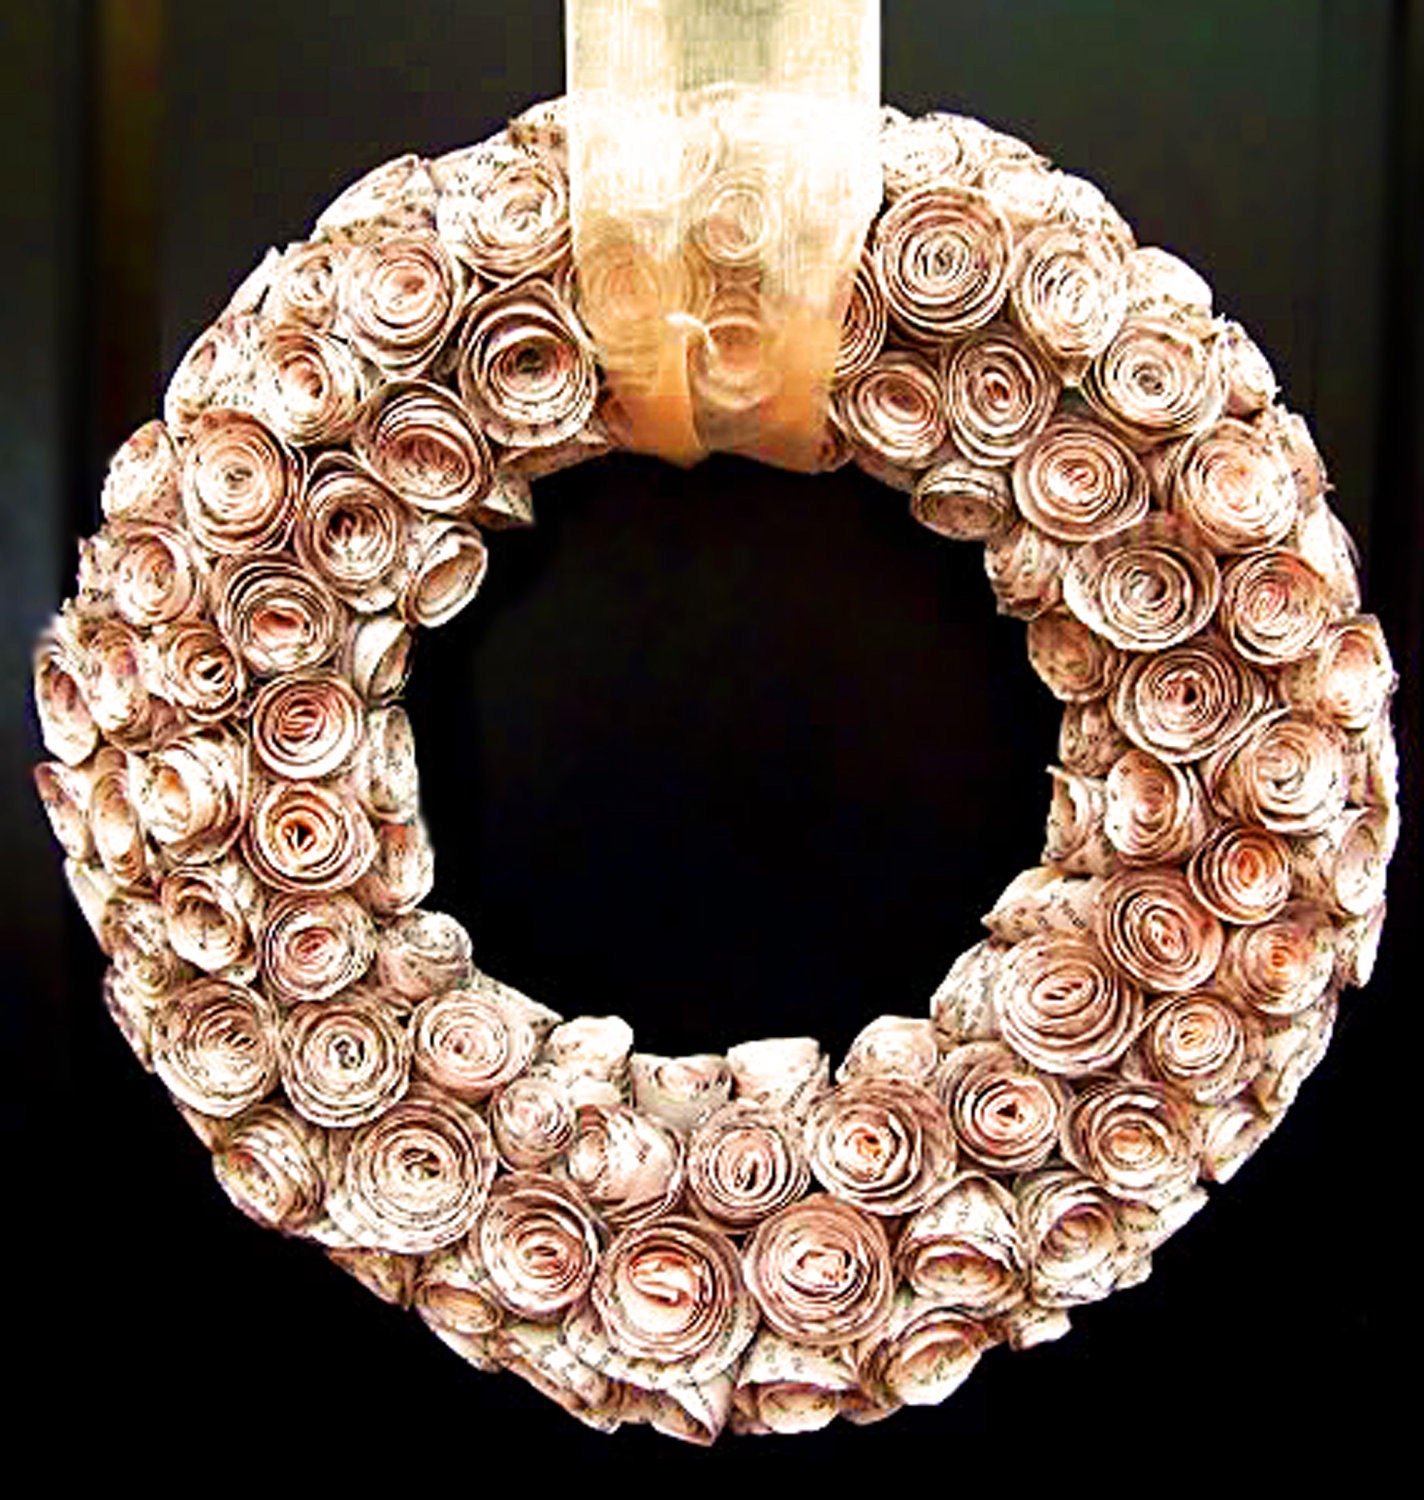
Here are a few I found on Etsy. Just click the photo to be taken to the listing.
WOWZA!
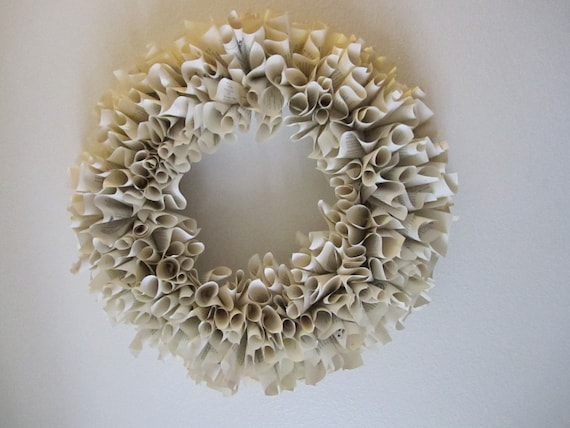
Another great one.
Hopefully this has inspired you! If you make a wreath, take a picture and email it to me, and I'll feature it on my blog! I'd love to see what all of us creative people can do.
7 comments:
Love all your wreaths. I made one at Christmas for a swap w/our group. Have to tell you the "Fame and Fortune" wreath is called the "Cootie Catcher" around this neck of the woods. lol My grandson just brought a "Cootie Catcher" home from school the other day. We had a great time laughing as I told him I made those as a kid myself.
That's cute Roberta. :)
WOW! How fun! Thank you so much for featuring my wreath!
xoxo
Janee
yellowbirdyellowbeard.blogspot.com
Wow, Nona...your wreath is super cute! The others you showed are really neat too.
Not sure I have enough patience to make one for myself though. :-)
What a fun wreath! I've been wanting to make a rosette wreath out of old phone books I've been saving, I guess I'll have to keep saving them so I can make one of these - TFS!
I really like your fame and fortune wreath! Thank you for featuring mine.
Rita
WOW I LOVE this! I just came across this from the CTMH BB forum. I think I'm going to attempt with the mistletoe papers for Christmas. Thank you for being a great inspiration!!
Post a Comment